Our Process · Chicago Area
Six steps. One day.Done right.
The difference between a floor that lasts a lifetime and one that peels in two years isn't the bucket — it's the prep. Here's exactly what happens between 8am and your first walk on the new floor.
- Lifetime warranty
- 1-day garage installs
- BBB accredited
- 100% antibacterial
01
Surface Preparation
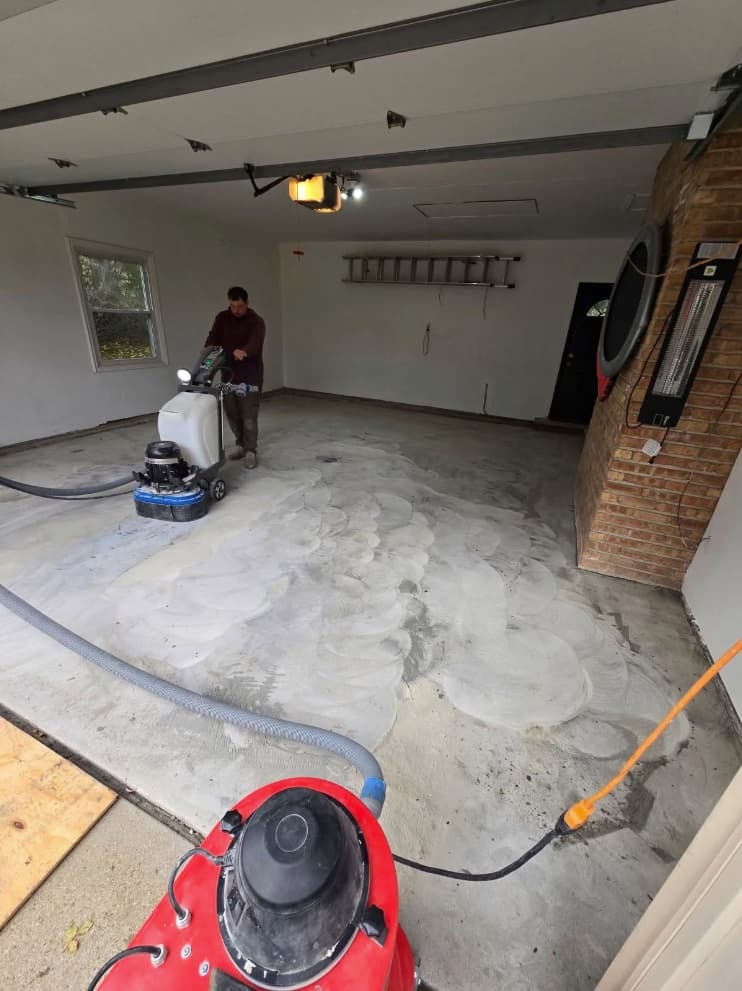
We grind every slab with diamond tooling — never acid etching. Grinding opens the concrete's pores and cuts a uniform profile the coating can lock into, while acid etching leaves behind weak surface paste that coatings eventually peel away with. Vacuum-shrouded grinders keep the dust out of your garage and your house.
02
Repair & Prime
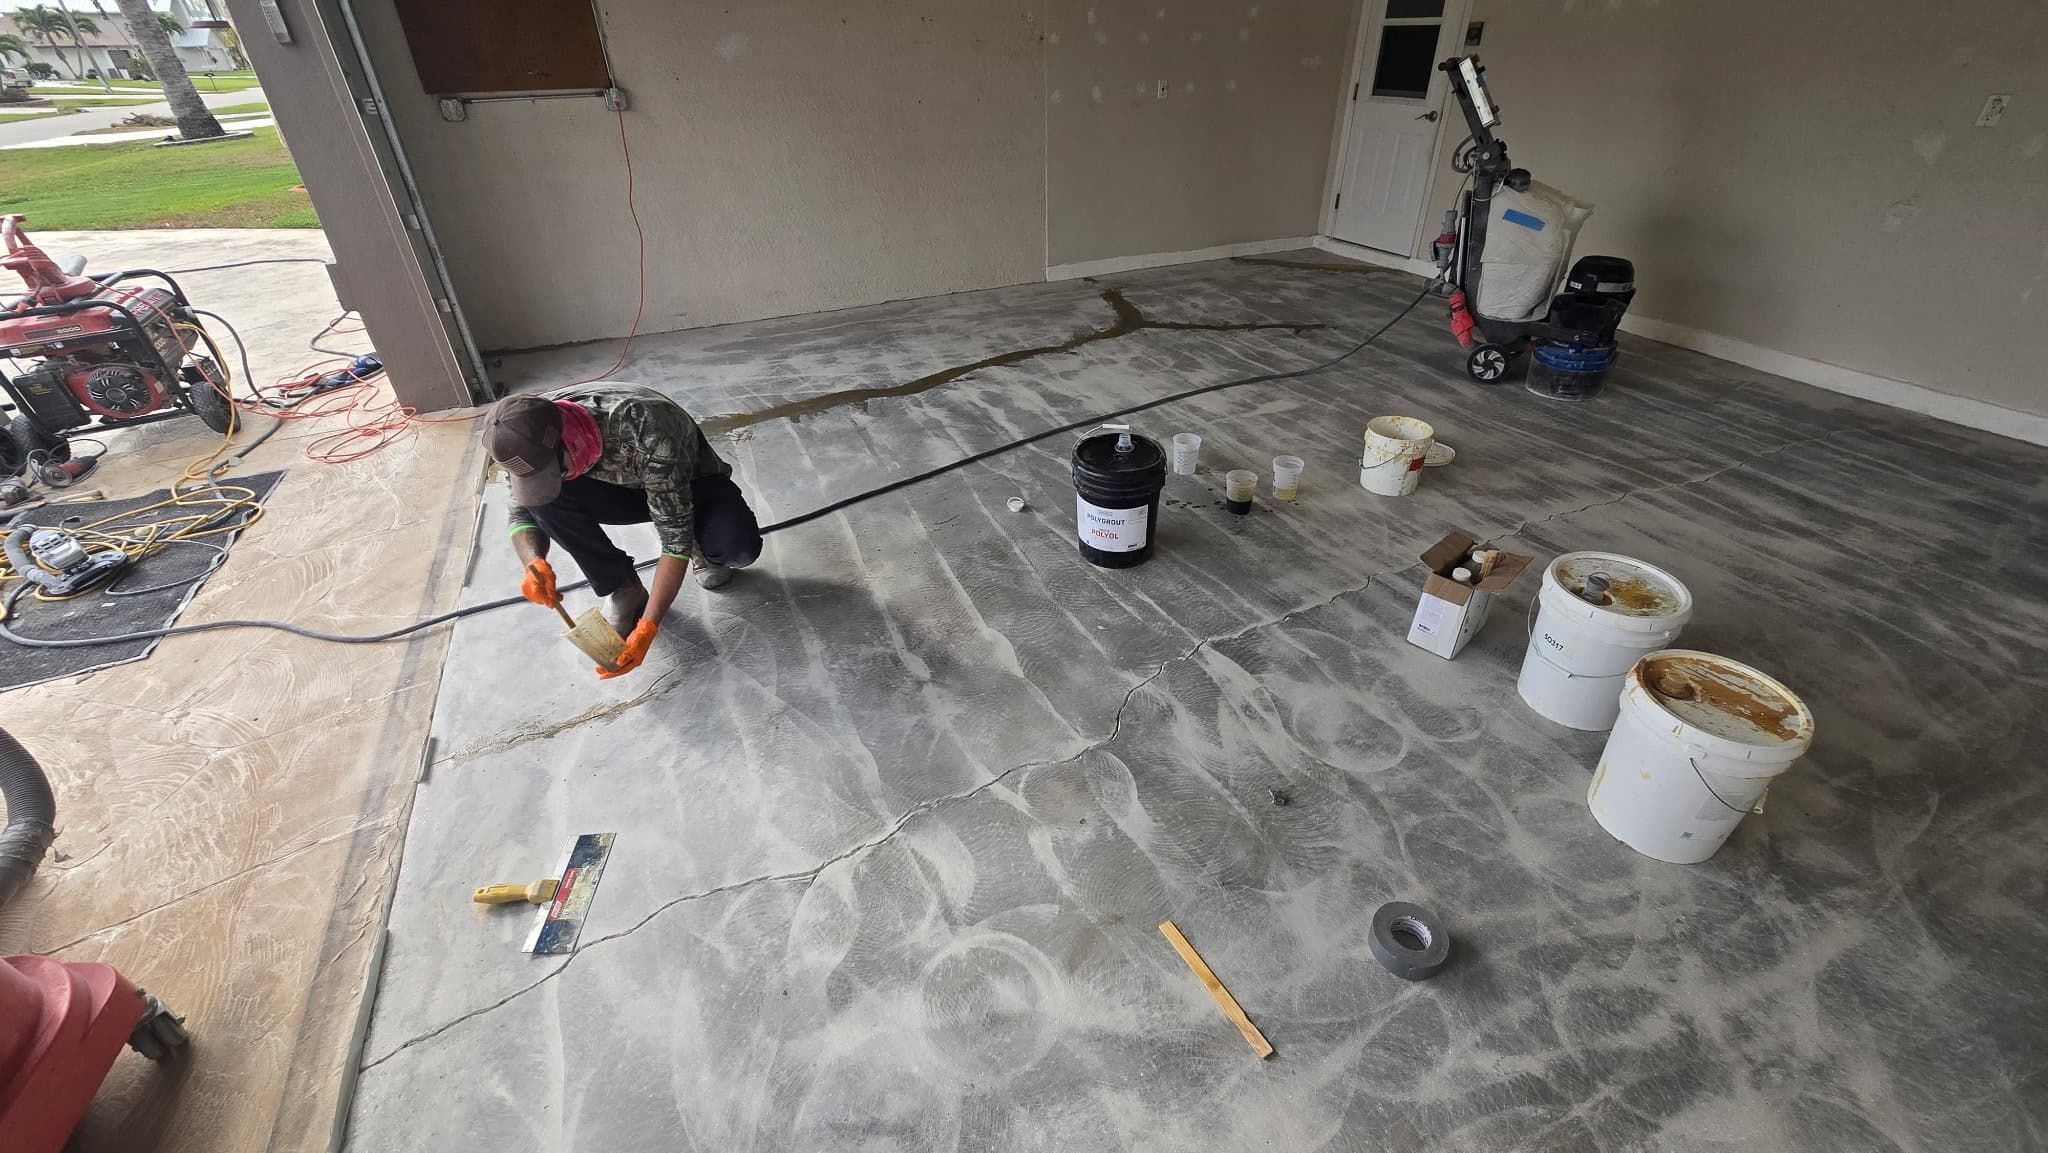
Cracks, pits, and spalling get filled with a polyurea repair compound that cures in minutes and flexes with the slab — so old damage doesn't telegraph through the new floor. Then the whole surface is primed while the ground concrete is still open, wetting deep into the pores for maximum adhesion.
03
Base Coat
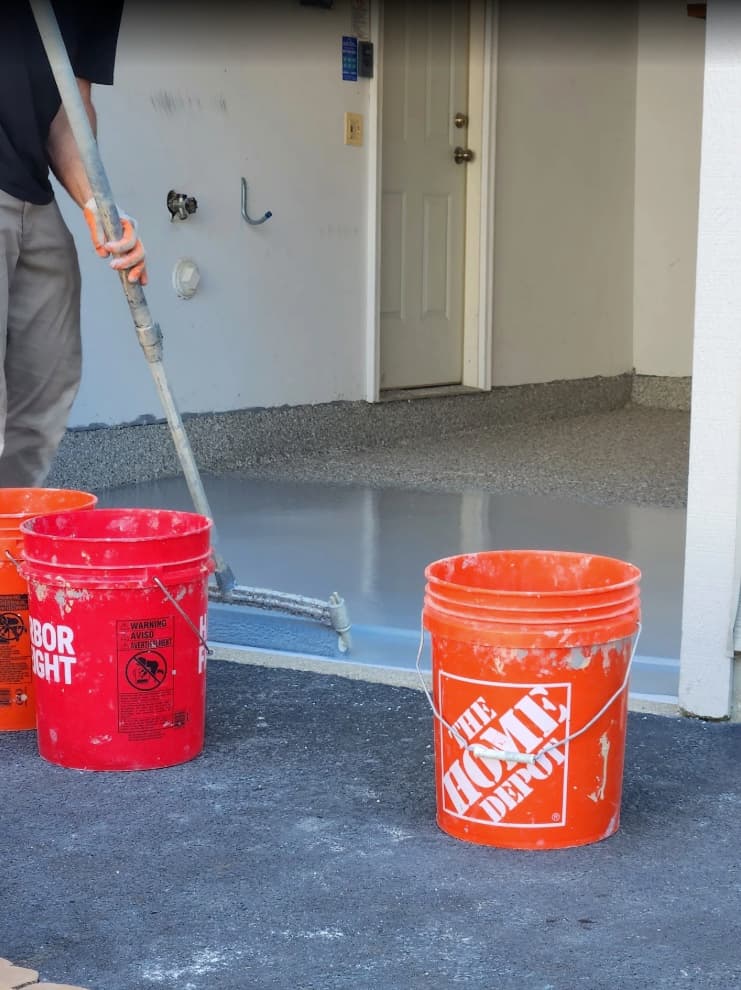
The polyurea base coat is the backbone of the system. It bonds both mechanically into the ground profile and chemically as it cures, becoming part of the slab rather than a layer sitting on top — which is why it doesn't delaminate under hot tires the way epoxy does. It also stays flexible through freeze-thaw, moving with the concrete instead of cracking.
04
Flake & Texture
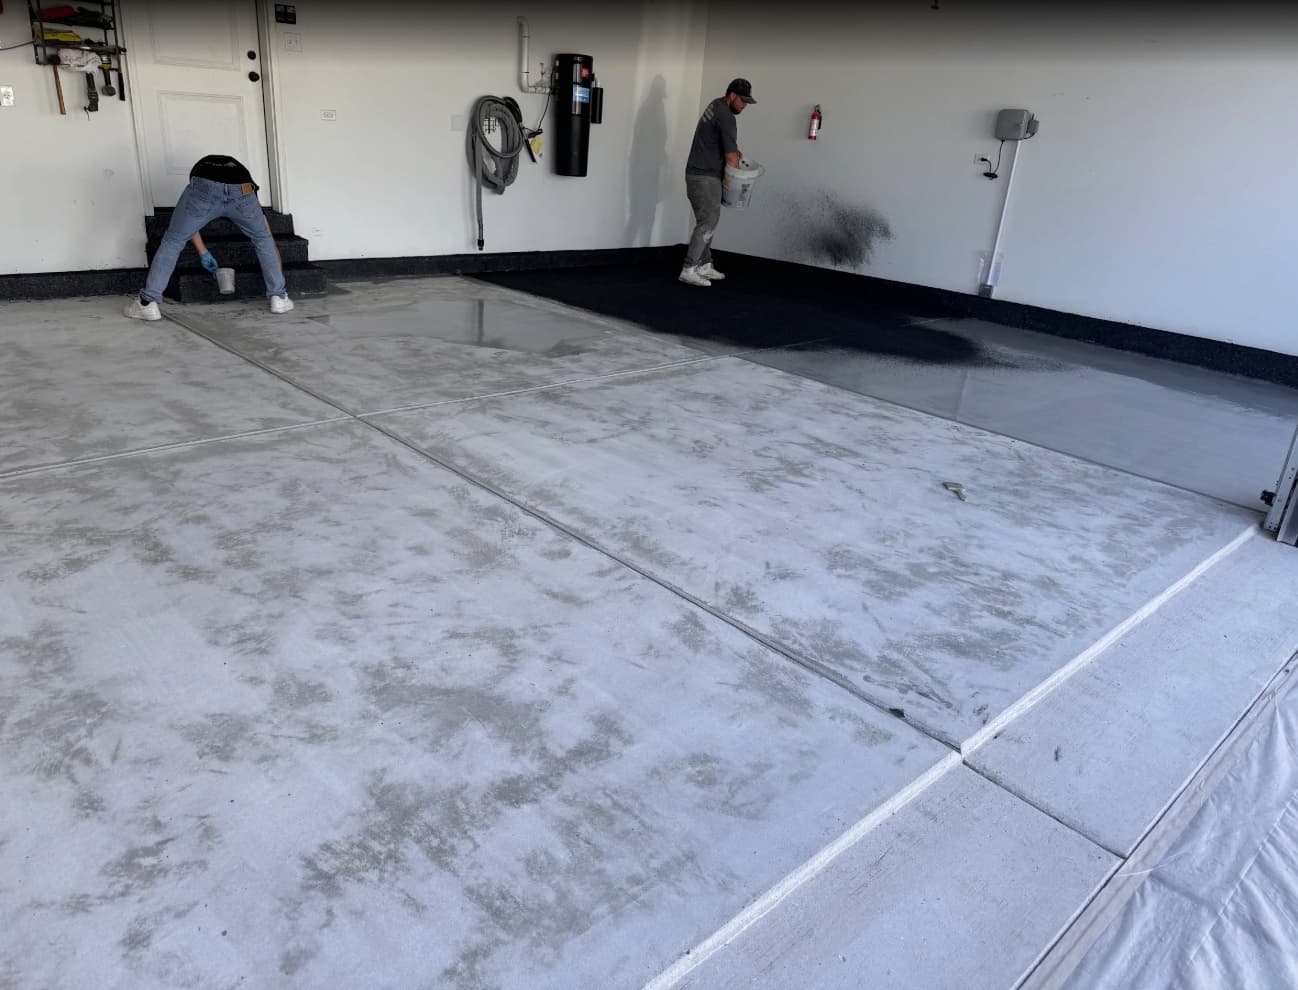
We broadcast decorative flake to full rejection — meaning we keep throwing flake until the wet base coat physically can't hold any more, then reclaim the excess once it cures. Full broadcast is what gives the floor its uniform, showroom depth, hides dust and imperfections, and builds in slip-resistant texture.
05
Topcoat Seal
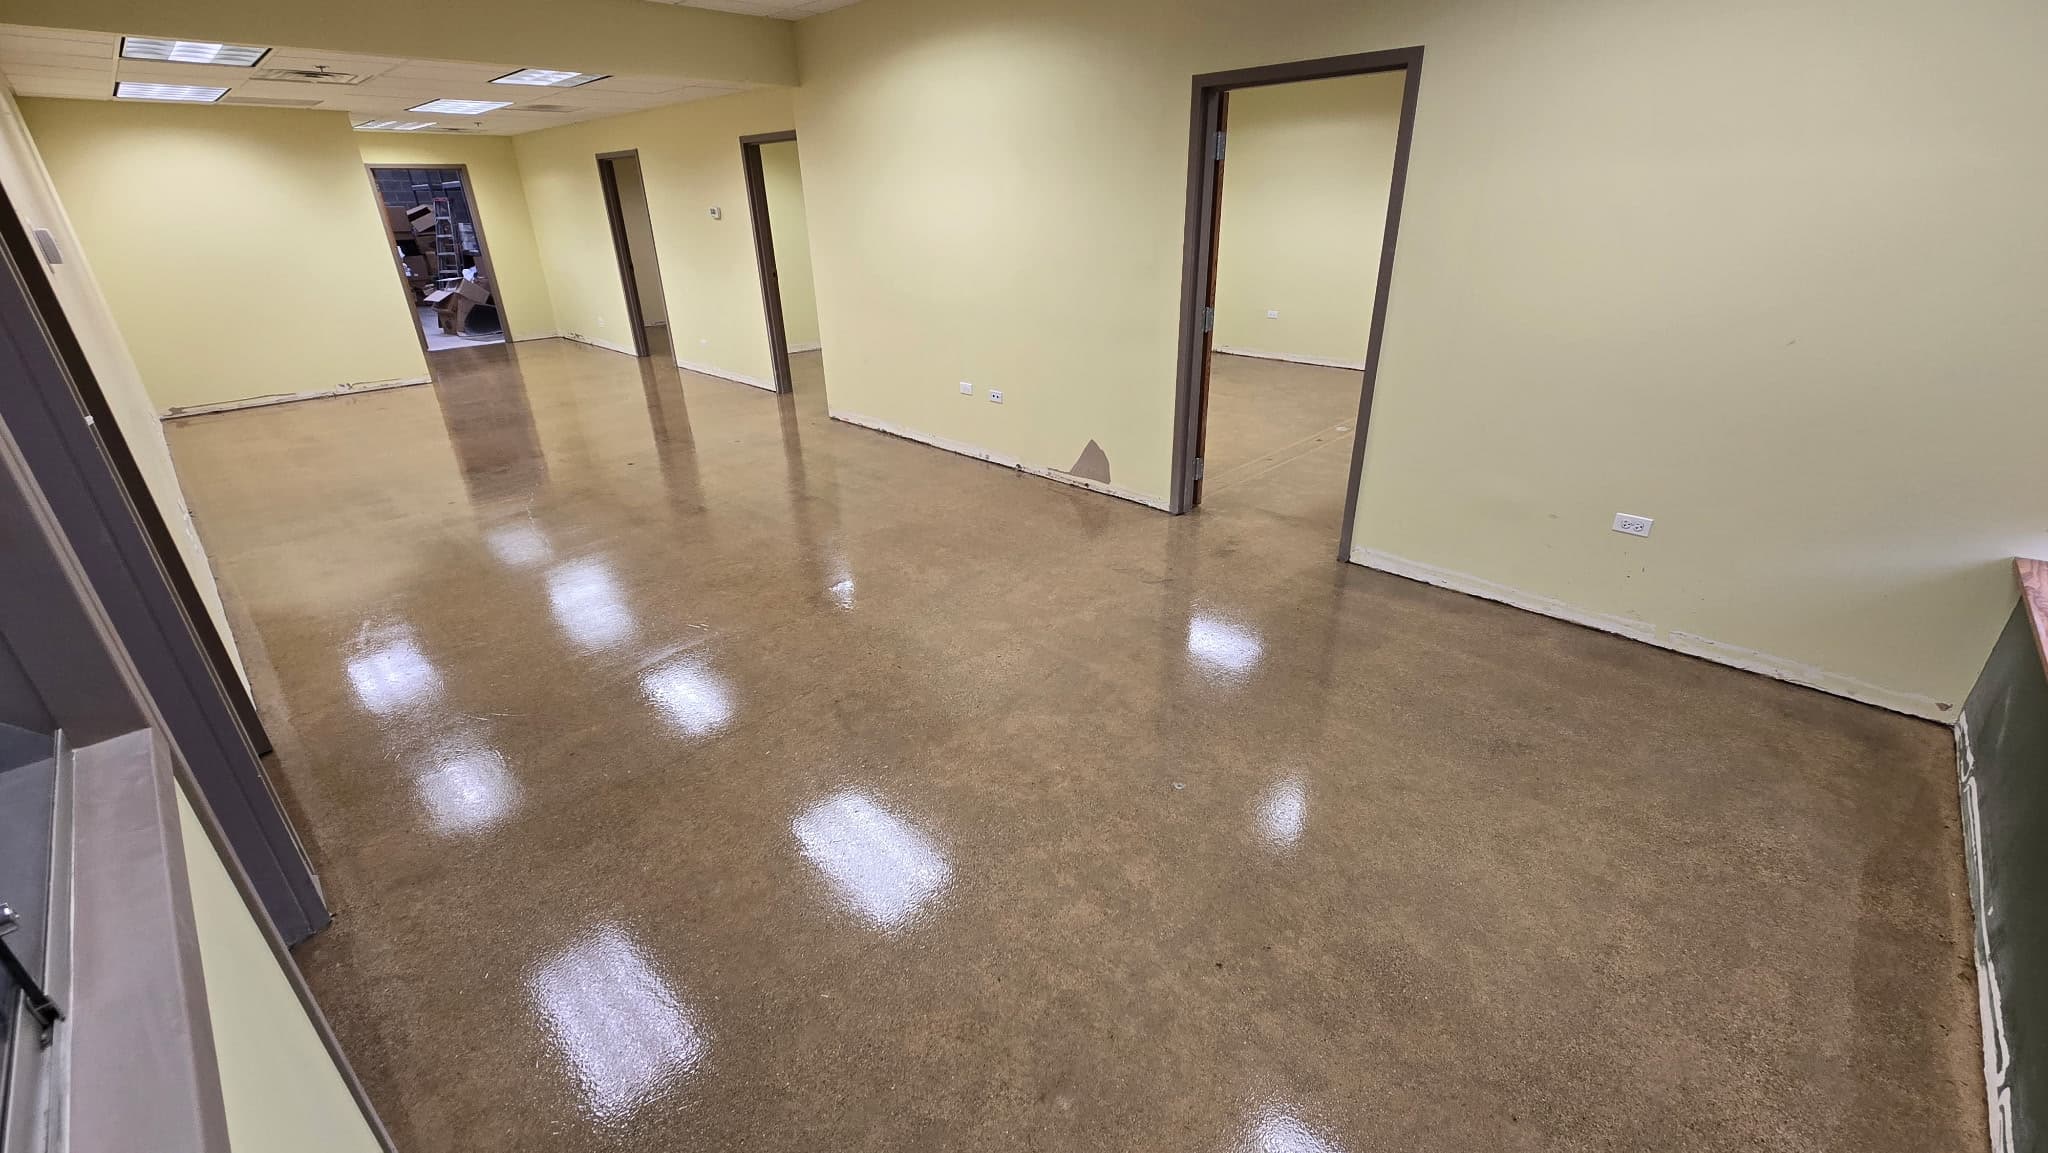
After scraping and vacuuming the cured flake, we lock everything under a clear polyaspartic topcoat. It's UV-stable — so the floor never yellows in sunlight — and chemically resistant to road salt, oil, and cleaners. This is the wear layer that makes the floor wipe-clean for decades.
06
Final Inspection
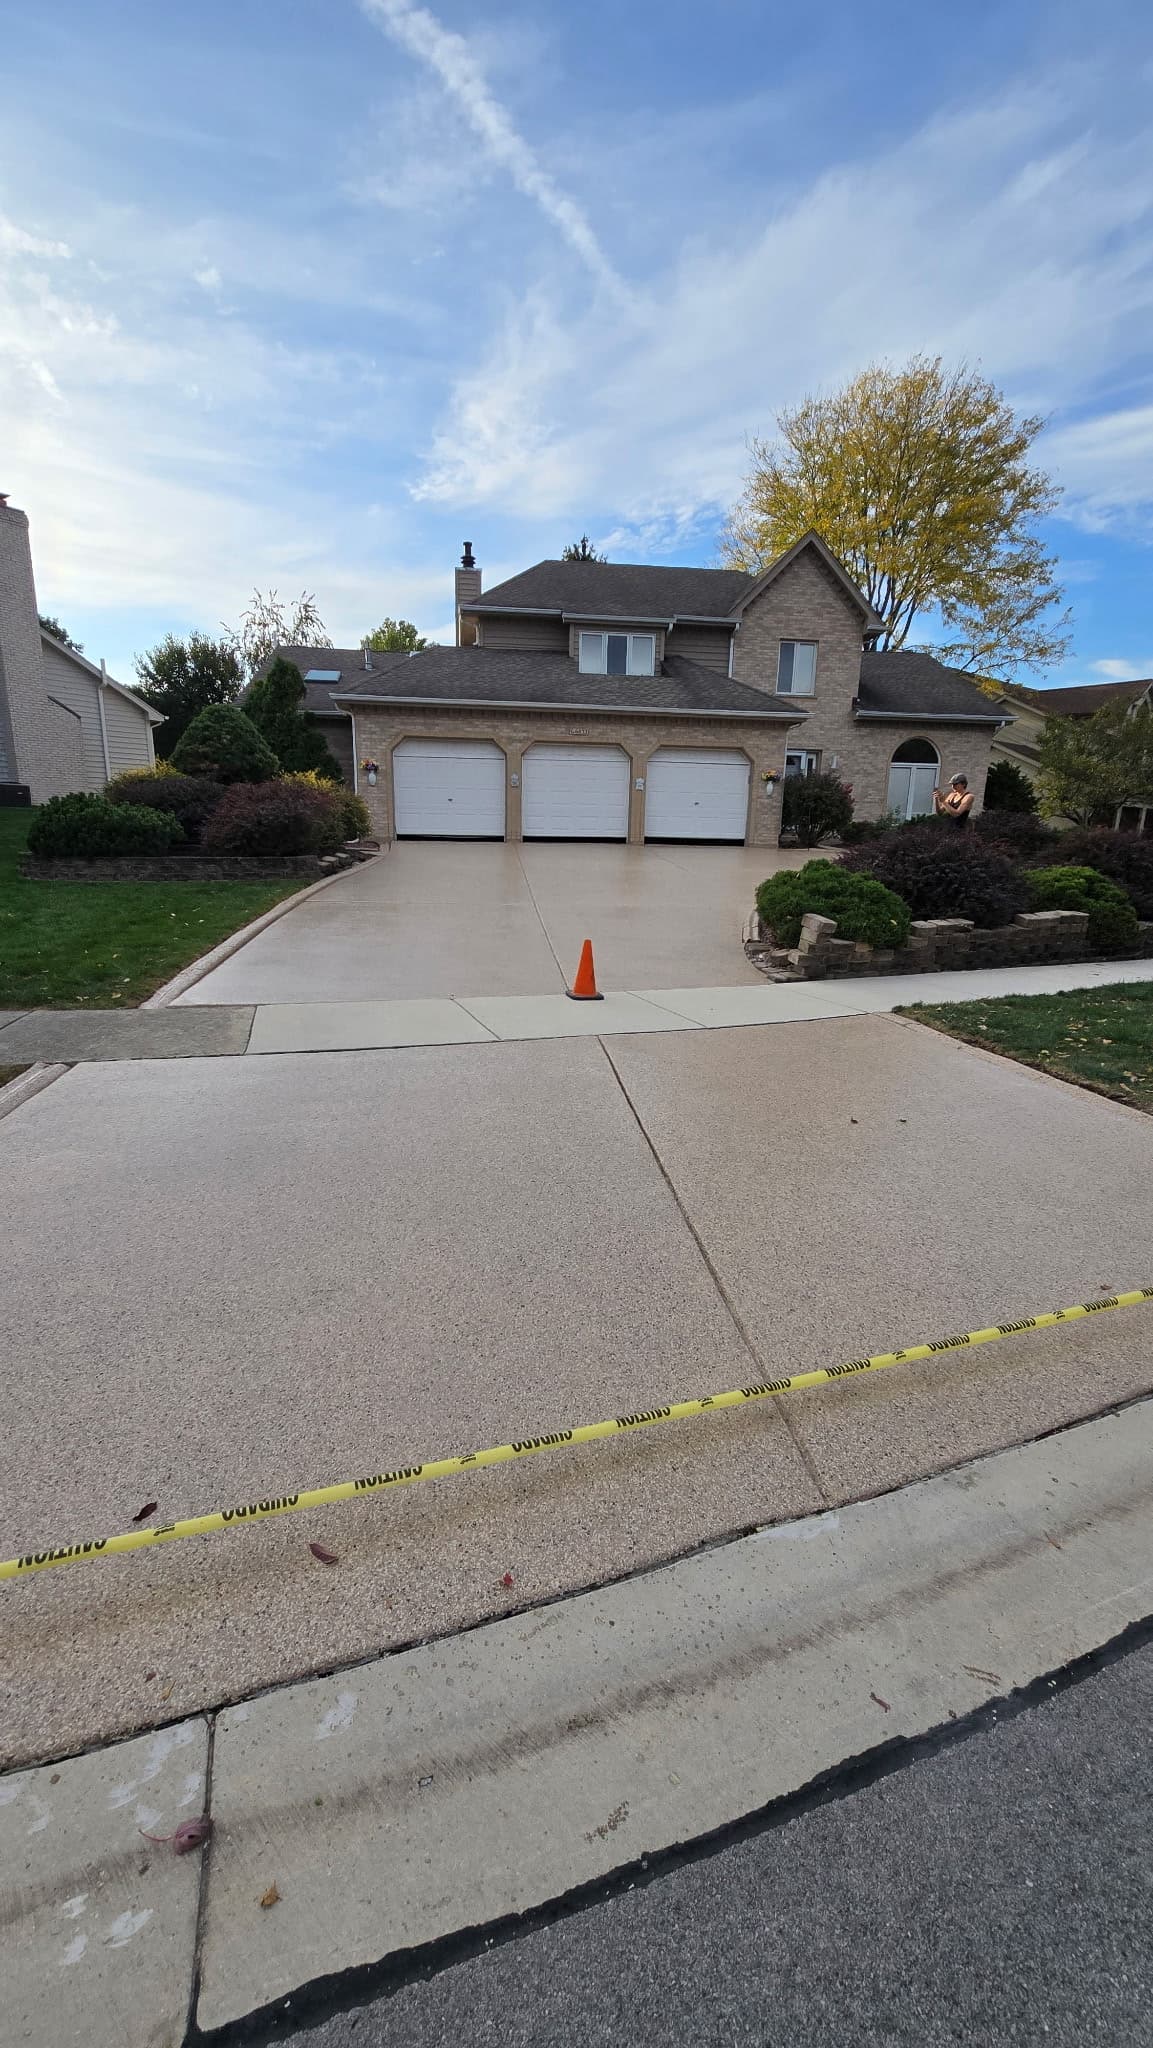
We walk the finished floor with you edge to edge, inspect the texture and coverage together, and hand over your lifetime warranty in writing along with a simple care sheet. We don't load the trailer until you're happy with every square foot.
The system, layer by layer
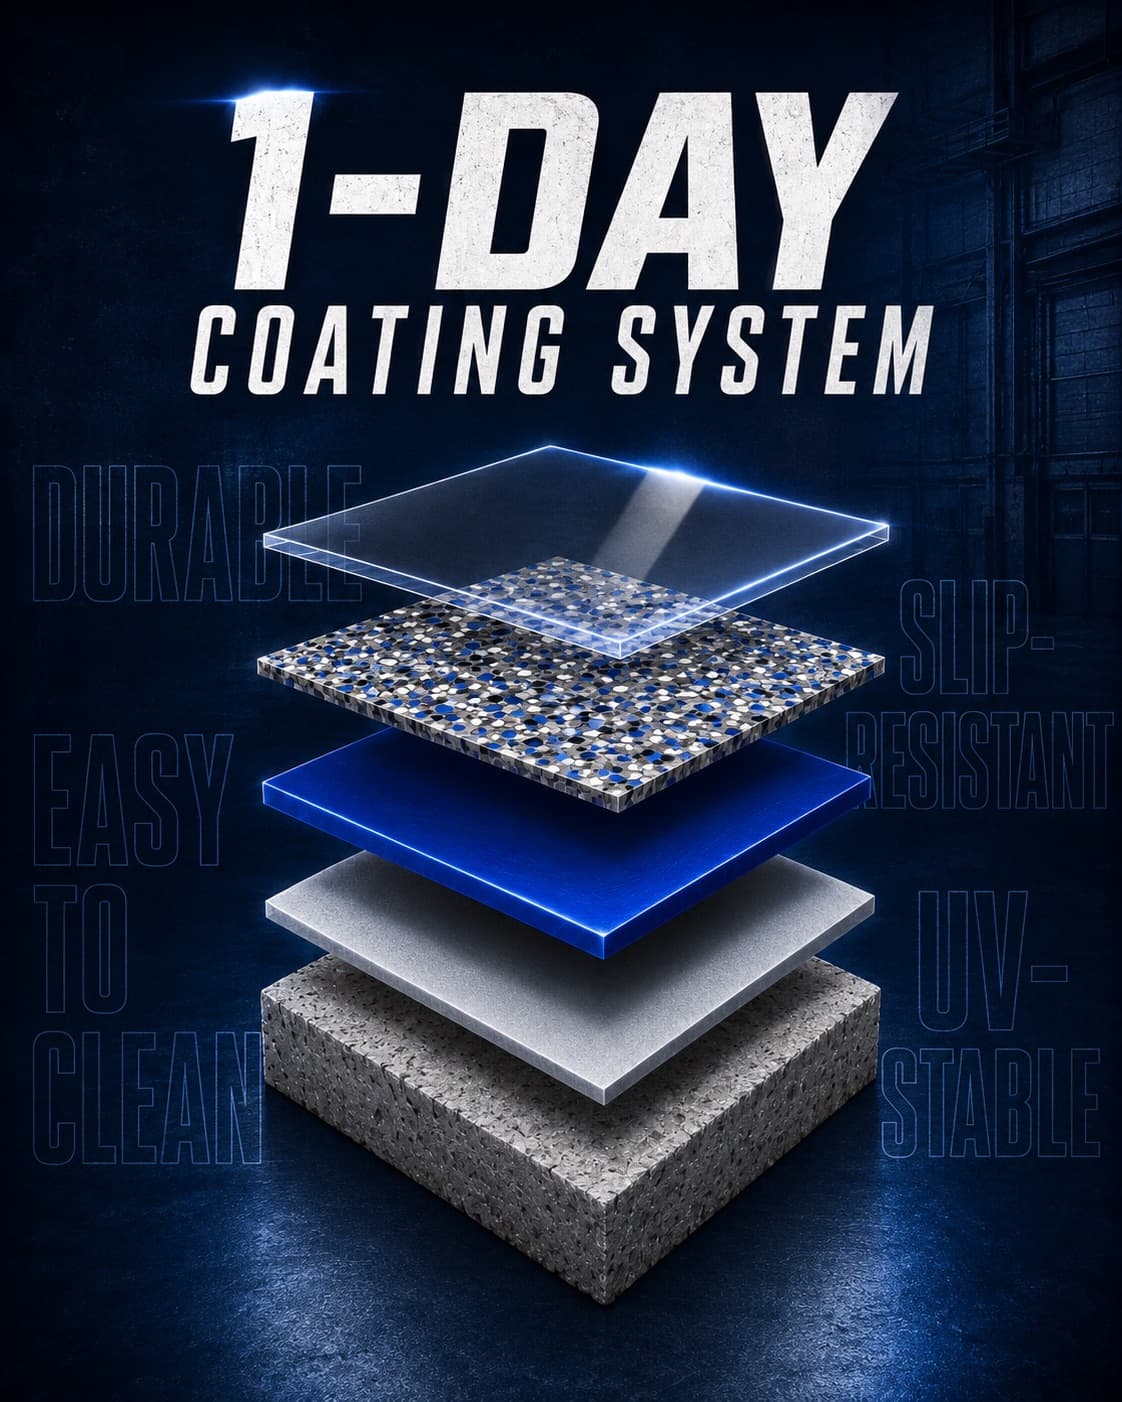
Five layers, one lifetime floor
Ground concrete, primer, polyurea base, full-broadcast flake, and a UV-stable polyaspartic topcoat — each layer has one job, and together they're why we can put a lifetime warranty in writing.
Install day
Your day, hour by hour
- 1
8:00 AM
Crew arrives, grinding starts
- 2
Late morning
Repairs, prime, and base coat down
- 3
Midday
Flake broadcast to full rejection
- 4
Afternoon
Scrape-back and clear topcoat
- 5
Same evening
Walk on your new floor
- 6
Once cured
Park the car back inside
Polyurea vs. epoxy
Why we never use epoxy
Epoxy is cheaper for a reason. Here's the honest comparison — it's the whole argument for how we can back floors for life.
| Our polyurea system | Traditional epoxy | |
|---|---|---|
| Bond to concrete | Mechanical + chemical — becomes part of the slab | Sits on the surface; relies on etch quality |
| Strength & flexibility | 4× stronger, stays flexible through freeze-thaw | Brittle — cracks as the slab moves |
| Hot-tire pickup | Doesn't lift. Ever. | The classic epoxy failure |
| UV exposure | Polyaspartic topcoat never yellows | Ambers and chalks in sunlight |
| Cure time | Walk the same day it goes down | 3–5 days before parking |
| Cold-weather install | Cures properly even in Chicago winters | Struggles below ~55°F |
Frequently asked questions
The process, answered.
Just for the start and the final walkthrough. Most customers let us in at 8am, go about their day, and walk their new floor that evening.
No. Our grinders run under vacuum shrouds, so dust stays out of your home, and our coatings are low-odor — nothing like the solvent smell of old-school epoxy jobs.
Yes. Polyaspartic chemistry cures properly in cold weather, so we install year-round — Chicago winters included. Garages don't even need to be heated.
Light foot traffic the same evening. Vehicles and heavy items like tool chests go back once the topcoat has fully cured — we give you the exact cure schedule for your floor at the final walkthrough, since it depends on the system and the conditions on install day.
Rough is normal — grinding, patching, and crack repair are built into every install, not an upsell. If a slab is genuinely beyond saving, we'll tell you at the free consultation rather than coat over a problem.
Free estimate
Ready to see it in your garage?
Tell us about your project and get a fast, no-pressure quote from a local concrete coating specialist.
- Free consultation
- Honest pricing
- Quotes take under 10 minutes
Or call (224) 584-6121